What I did
I made a sprite animation using just CSS code – no Javascript required. If you have no idea what that means, see below!

A sprite animation is a 2D animation technique where a sequence of static, flat images (called sprites) are displayed one after another in rapid succession to create the illusion of movement—much like a digital flipbook.

Instead of loading dozens of separate image files—which slows down browsers —you pack all the individual poses of a character or object into a single grid image called a sprite sheet.
CSS (Cascading Style Sheets) is the code used to style and lay out a webpage. If HTML is the bare skeleton of a house (walls, doors, text), CSS is the paint, wallpaper, lighting, and furniture that makes it look good.
How CSS Animates a Sprite
Imagine holding a long filmstrip behind a small cardboard cutout window. You can only see one frame at a time through the hole; as you yank the strip across, the picture appears to move. CSS does this digitally in three steps:
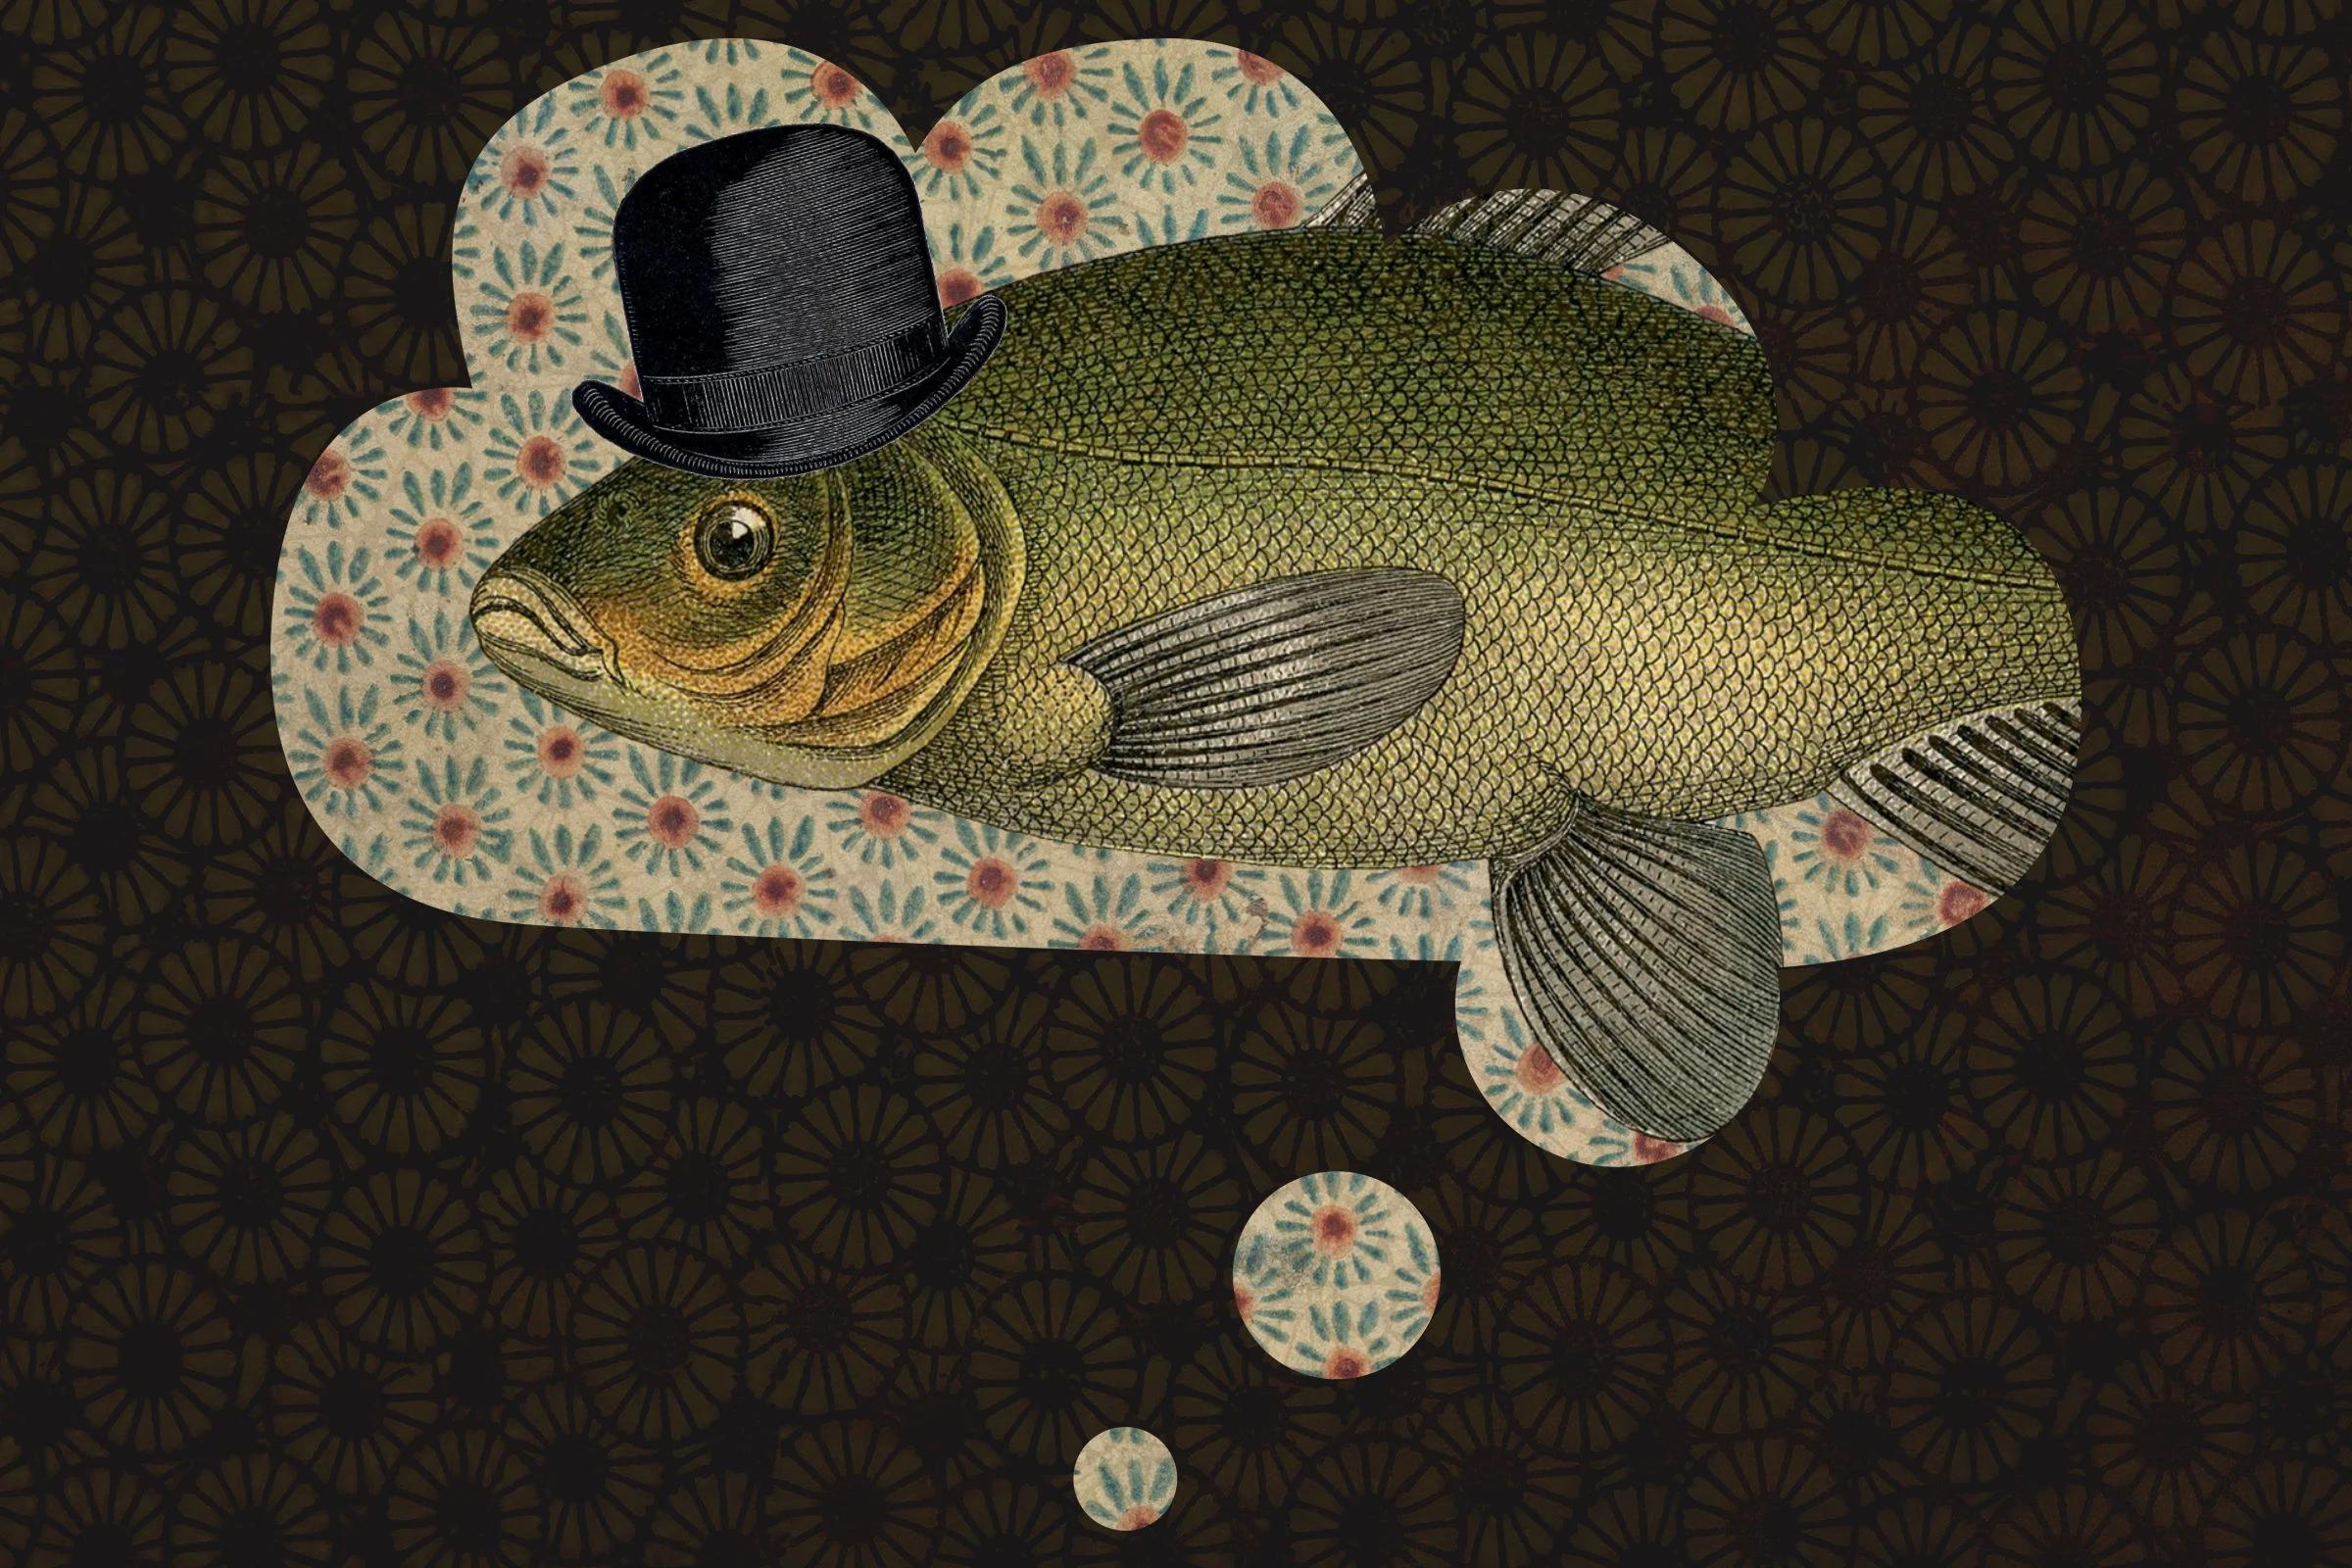
- Make the “window”: I created a box on the webpage (
widthandheight) the exact size of a single speech bubble. - Load the “filmstrip”: I set the entire multi-frame sprite sheet as that box’s background image. Because the box is small, the rest of the strip is naturally cropped out.
- Snap it across with
steps(): Normally, CSS smoothly slides a background image from left to right—which would look like a blurry mess. Instead, I used a special CSS command calledsteps()to make the background jump instantaneously from one frame’s coordinates to the next, creating crisp frame-by-frame motion.
What I learnt
I learned a lot about efficiency – no one wants to wait for ages while your animation loads – so this worked better than the animated gif I started out with (which had a larger file size). It was good fun finding all the vintage assets to use in the different frames (and I loved the fact that they were all a bit silly and random).
Have a project in mind?
A website, a photo shoot, or something in between. Tell me what you’re thinking and I’ll get back to you.